Pages

Showing posts with label Science. Show all posts

Tuesday, February 25, 2020

How to make Weet-bix

Kia Ora and welcome back to my blog. Today I am posting about how to make Weet bix. This lesson of Hurumanu we were writing about how to do Procedural writing. We did the writing about what we had for breakfast this morning.

We are learning how to do Procedural writing for science because for science you need to make sure that you can read it clearly and understand what there telling you to do. Because if you dont understand what you doing or cant read what materials you need you might do something wrong.

Anyway here is my How To Make Weet-bix:... 

How to make Weet-bix


Materials:
  • Spoon 
  • Bowl
  • Sugar
  • Milk
  •  Hot Water (optional)
  • Weet-bix


Ingredients:
  • 1 tsp of sugar
  • 2 Weet-bix
  • 1 ½ cups of milk
  • 1 cup of water (if wanted)


Steps:
  1. First add the Weet-bix to the bowl side by side.
  2. After that you're going to add the milk/water to the bowl that
has the Weet-bix in it and mix it.

3. At the end after you have finished adding the Weet-bix, milk,
water you then want to sprinkle the sugar over the Weet-bix.


Conclusion:
After you have made the Weet-bix enjoy. 
Make sure that when you add the HOT water make sure you
don’t spill on yourself or get an adult to do it. 

Make sure that when you have finished making the bowl of
Weet-bix to eat it because it can go all soggy if you don't eat it
straight away, and no one likes soggy Weet-bix.

Image result for weetbixs
I hope you enjoyed my blog post about Procedural writing,BYE!!!

Thursday, June 13, 2019

Science Expectations

Science Badges:


Image result for science badge  

'Conservation'  

  • Climate Science
  • Global Warming
  • Recycling
  • Renewable Energy
  • Fossil Fuels
  • Ecology
  • Our Planet
  • Water
  • Plants
  1. 15 Points are needed to get a badge
  2. A high standard of work.
  • All experiments are written up ( Aim, Materials, Steps, Conclusion)
  • Two photos of your experiment
  • 6 sentences at least for a conclusion


Science will be twice per week.


  • Lesson 1: This will be an Experiment that involves blogging. You will be expected to open a new post, copy Mr Palmer's blog and paste it on your new post.
  • Lesson 2: This will be an Investigation that relates to the topic from Lesson 1. It will be own choice and displayed in a way that you prefer. For example - PowerPoint, Doc, etc

BLOGGING.


All the blogs and science lessons will be displayed on Mr Palmers blog: 

Bookmark it!


Expectations:
  • 1 blog must be completed per Hurumanu lesson.
  • A completed blog must have the four headings ( Aim, Method, Findings, Conclusion), correct writing and punctuation under each heading and be published. No post, no points.
  • 2 images of the experiment / investigation on the blog.
Using the Scientific method of investigation:

Aim: What the experiment / investigation is about.
Method: Instructions on how the experiment / investigation is carried out. This includes the equipment.
Findings: What have we learnt or found out from our experiment / investigation. This is called Data, Information or Facts. It is displayed in a chart, table or picture.
Conclusion:  


My Hurumanu Science Goals:


1.  To get my science badge.


2.  To always wear my safety equipment when I need to.


3.  To listen to my step by step instructions.  

Friday, March 29, 2019

Forensic Science

Forensic Science

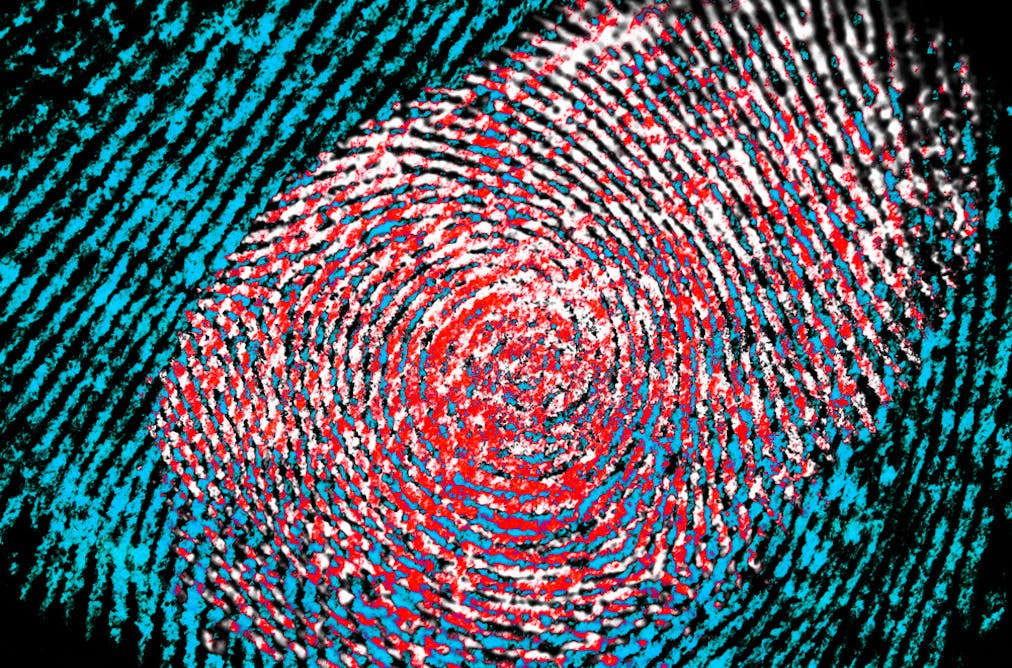
Finger prints

Aim: To look at the different types of fingerprints.

Materials: 
  1. Ink
  2. Balloon
  3. Group of 2-3

Steps

  1. Get into a group of 2-3 people  
  2. Get all your items that you need  
  3. Put ink on your index finger but not to much
  4. Place your finger on the balloon
  5. Blow up the balloon and find out what your finger print is
  6. blow down the balloon 


Image result for fingerprint types


Name
Fingerprint 1 (Thumb)
Fingerprint 2 (index finger)
TasharnArchArch
ZoeWhorlArch
ShaneWhorlWhorl


Questions:
Do people always have the same type of fingerprint on their thumb and index finger?
No, people don't always have the same fingerprints.

What was the most common type of fingerprint in your group?
Arch & Whorl, because there is the same amount of an Arch & Whorl in the group.


Hidden fingerprints:

Aim: To learn how to lift hidden fingerprints from an object.

1. Lifting and Gathering fingerprints.

Equipment:
  1.   Plastic
  2.   Tape
  3.   Black Card
  4.   Brush
  5.   Baby Powder
Method: 
  1. Place your finger on the plastic
  2. Put your brush in your baby powder
  3. Apply the powder on the brush to the plastic
  4. Shake of the extra powder
  5. Put the tape on top of the fingerprint until you can see it on the tape
  6. You then put the tape on the black card 
  7. You are then finished
Results:

I did manage to lift a fingerprint but not a clear one.
Not applying to much powder to the plastic.
I think it is helpful because they can scan it and then find out who did the crime.


Image result for forensic science fingerprints transparent

Tuesday, March 12, 2019

What Is Filtrtion!!!😀😀😀

Aim: To make a filtration plant using household materials.

Image result for filtration science experiment
Water Filtration Plant

What is filtration?


Filtration is separating solids from liquids by adding a medium through which only the liquid can pass. 

Examples are:

  1.  Tea Bag
  2.   Coffee Filter/Plunger
  3.  Swimming Pool
  4.  Kidney

Materials

1. Sand
2. Coffe Filter Paper
3. Dirty Water
4. Bottle-2 halfs
5. Pebbles 
6. Cup
7. Sissors
8. Funnel

Process - ( use verbs or doing words in each step )


Step 1

Cut the bottle in half

Step 2

Put the top half upside down in the bottom half of the bottle.

STEP 3

Add layers of filter paper then add your sand and pebbles

STEP 4

Get 1 cup of dirty water.

STEP 5

Pour dirty water into upside down bottle

Measurements
When Mr Palmer did the expirement today the filter that ha was using didn't work proply so the water went down to fast and didn't go clear/clean.


Warning

Make sure that an adult cuts the bottle in half. This water filter is just an experiment and should not be used for drinking water.
Avoid using charcoal briquets, as these can contain chemicals you don't want in your water. Use the activated carbon for water purifiers instead.

Scones 😃😃😃

Aim: To look at different kitchen ingredients in scones and their effects.


Type
Height (CM)
Taste
Colour
Normal
5cm
Yummmy
Golden Brown
Lemonade
3cm
Disgusting
White
Baking Soda
2.5cm
Bread
Light Brown


Recipe:

  • 1/2 cup Edmonds standard flour
  • 1 tsp Edmonds baking powder  or 1 tsp baking soda                            
  • 2 tsp butter
  • 1/4 cup milk, approximately or 1/4 cup lemonade.

The recipes my group chose were:

1. Normal
2. Lemonade
3. Baking Soda

The other two recipes were:

1. Name: Normal 

Ingredients:

  •  Milk 
  •  Butter
  •  Baking Soda
  • Flour

2. Name: Lemonade

Ingredients: 

  •   Lemonade
  •    Flour
  •   Butter
  • Baking Soda

Materials:

1. Bowl
2. Flour
3. Baking Soda
4. Milk
5. Spoon
6. Butter

Process

Step 1: Get your bowl and spoon
Step 2: Get all your ingredients and put them into your bowl
Step 3: Mix all your ingredients together until it starts to form a dough
Step 4: After dough has formed pick it up in your hands a nid it
Step 5: once nidded put on a tray and cook it in the oven for 10 minutes on 200 degrees
Step 6: Check them after them 10 minutes is over and take them out of the oven and let them cool down.

Findings:
My group had found that the normal one had grown bigger then the others.


Conclusion:
The scones cooked really well but the didn't taste that great only one of them tasted yummy. If you look at them it looks like they weren't cooked properly but they were all cooked at 200 degrees and they were in the oven for 10 minutes.