Pages

Friday, March 29, 2019

Forensic Science

Forensic Science

Finger prints

Aim: To look at the different types of fingerprints.

Materials: 
  1. Ink
  2. Balloon
  3. Group of 2-3

Steps

  1. Get into a group of 2-3 people  
  2. Get all your items that you need  
  3. Put ink on your index finger but not to much
  4. Place your finger on the balloon
  5. Blow up the balloon and find out what your finger print is
  6. blow down the balloon 


Image result for fingerprint types


Name
Fingerprint 1 (Thumb)
Fingerprint 2 (index finger)
TasharnArchArch
ZoeWhorlArch
ShaneWhorlWhorl


Questions:
Do people always have the same type of fingerprint on their thumb and index finger?
No, people don't always have the same fingerprints.

What was the most common type of fingerprint in your group?
Arch & Whorl, because there is the same amount of an Arch & Whorl in the group.


Hidden fingerprints:

Aim: To learn how to lift hidden fingerprints from an object.

1. Lifting and Gathering fingerprints.

Equipment:
  1.   Plastic
  2.   Tape
  3.   Black Card
  4.   Brush
  5.   Baby Powder
Method: 
  1. Place your finger on the plastic
  2. Put your brush in your baby powder
  3. Apply the powder on the brush to the plastic
  4. Shake of the extra powder
  5. Put the tape on top of the fingerprint until you can see it on the tape
  6. You then put the tape on the black card 
  7. You are then finished
Results:

I did manage to lift a fingerprint but not a clear one.
Not applying to much powder to the plastic.
I think it is helpful because they can scan it and then find out who did the crime.
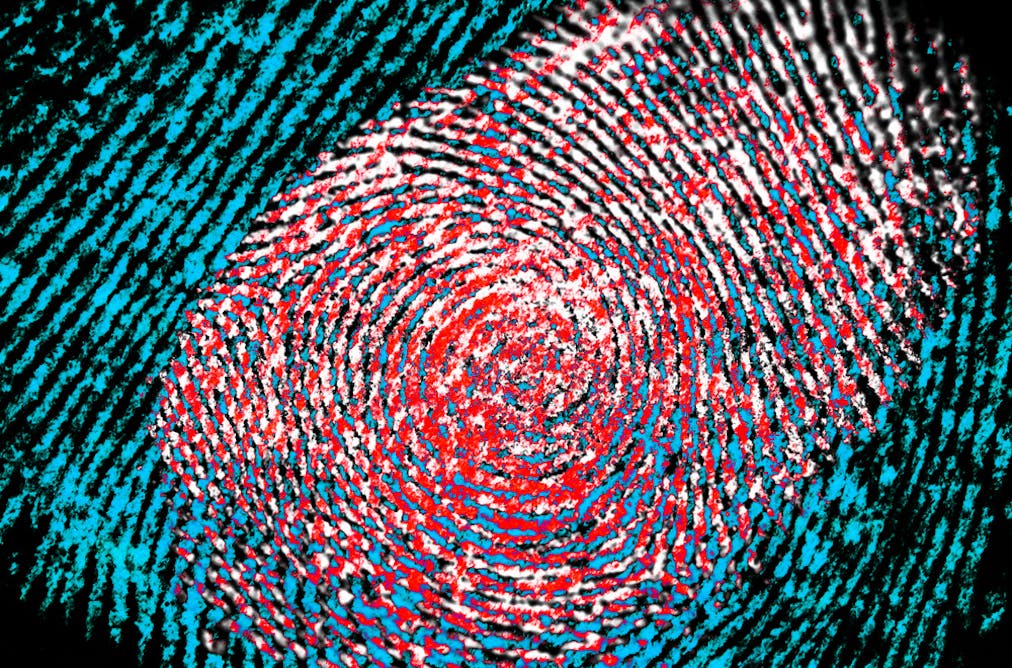


Image result for forensic science fingerprints transparent

Thursday, March 21, 2019

My Amazing Timeline!😃😃😃

Kia Ora and welcome back to my blog. Today in my class for reading we have to do a reading task. The reading task that we had to do is we had to do a timeline about 5 women from New Zealand that are famous or have left a legacy in New Zealand. So because I wasn't here that day my friend Hayley helped me. 
Here is my work... 

Thank you for reading my blog please don't forget to leave a comment and give me some feed back, BYE!!!😃😃😃

Tuesday, March 12, 2019

What Is Filtrtion!!!😀😀😀

Aim: To make a filtration plant using household materials.

Image result for filtration science experiment
Water Filtration Plant

What is filtration?


Filtration is separating solids from liquids by adding a medium through which only the liquid can pass. 

Examples are:

  1.  Tea Bag
  2.   Coffee Filter/Plunger
  3.  Swimming Pool
  4.  Kidney

Materials

1. Sand
2. Coffe Filter Paper
3. Dirty Water
4. Bottle-2 halfs
5. Pebbles 
6. Cup
7. Sissors
8. Funnel

Process - ( use verbs or doing words in each step )


Step 1

Cut the bottle in half

Step 2

Put the top half upside down in the bottom half of the bottle.

STEP 3

Add layers of filter paper then add your sand and pebbles

STEP 4

Get 1 cup of dirty water.

STEP 5

Pour dirty water into upside down bottle

Measurements
When Mr Palmer did the expirement today the filter that ha was using didn't work proply so the water went down to fast and didn't go clear/clean.


Warning

Make sure that an adult cuts the bottle in half. This water filter is just an experiment and should not be used for drinking water.
Avoid using charcoal briquets, as these can contain chemicals you don't want in your water. Use the activated carbon for water purifiers instead.

First Lesson On Hurumanu!!!😀😀😀

Kia ora, welcome back to my blog. Today I will be posting my first drama lesson blog post with yous. My blog post is about frezze frames and how to use cchorus in it aswell. Frezze frames is were you stand in one spot and are standing in an action. There is a bit more information in the picture if you cant see what it says here is what it says.


Today ay Hurumanu we were looking at frezze frames again, except today we have added something into it. We have added captions to it.A caption is were you add words in with your frezze frame. My group did practise but a different group went up first. But after they had finished we had to go out to the feild for a fire drill.


Thank you for reading my blog post please don't forget to leave a comment, BYE!

Scones 😃😃😃

Aim: To look at different kitchen ingredients in scones and their effects.


Type
Height (CM)
Taste
Colour
Normal
5cm
Yummmy
Golden Brown
Lemonade
3cm
Disgusting
White
Baking Soda
2.5cm
Bread
Light Brown


Recipe:

  • 1/2 cup Edmonds standard flour
  • 1 tsp Edmonds baking powder  or 1 tsp baking soda                            
  • 2 tsp butter
  • 1/4 cup milk, approximately or 1/4 cup lemonade.

The recipes my group chose were:

1. Normal
2. Lemonade
3. Baking Soda

The other two recipes were:

1. Name: Normal 

Ingredients:

  •  Milk 
  •  Butter
  •  Baking Soda
  • Flour

2. Name: Lemonade

Ingredients: 

  •   Lemonade
  •    Flour
  •   Butter
  • Baking Soda

Materials:

1. Bowl
2. Flour
3. Baking Soda
4. Milk
5. Spoon
6. Butter

Process

Step 1: Get your bowl and spoon
Step 2: Get all your ingredients and put them into your bowl
Step 3: Mix all your ingredients together until it starts to form a dough
Step 4: After dough has formed pick it up in your hands a nid it
Step 5: once nidded put on a tray and cook it in the oven for 10 minutes on 200 degrees
Step 6: Check them after them 10 minutes is over and take them out of the oven and let them cool down.

Findings:
My group had found that the normal one had grown bigger then the others.


Conclusion:
The scones cooked really well but the didn't taste that great only one of them tasted yummy. If you look at them it looks like they weren't cooked properly but they were all cooked at 200 degrees and they were in the oven for 10 minutes.